
Refugium In Sump Guide for a Thriving Reef Tank
A refugium in a sump isn't just another piece of equipment; it's a living, breathing ecosystem tucked away beneath your display tank. Think of it as a dedicated safe house for growing beneficial macroalgae and all sorts of tiny critters. This protected space acts as a powerful natural filter, constantly pulling nitrates and phosphates out of your water while cultivating a self-renewing supply of live food like copepods for your fish and corals.
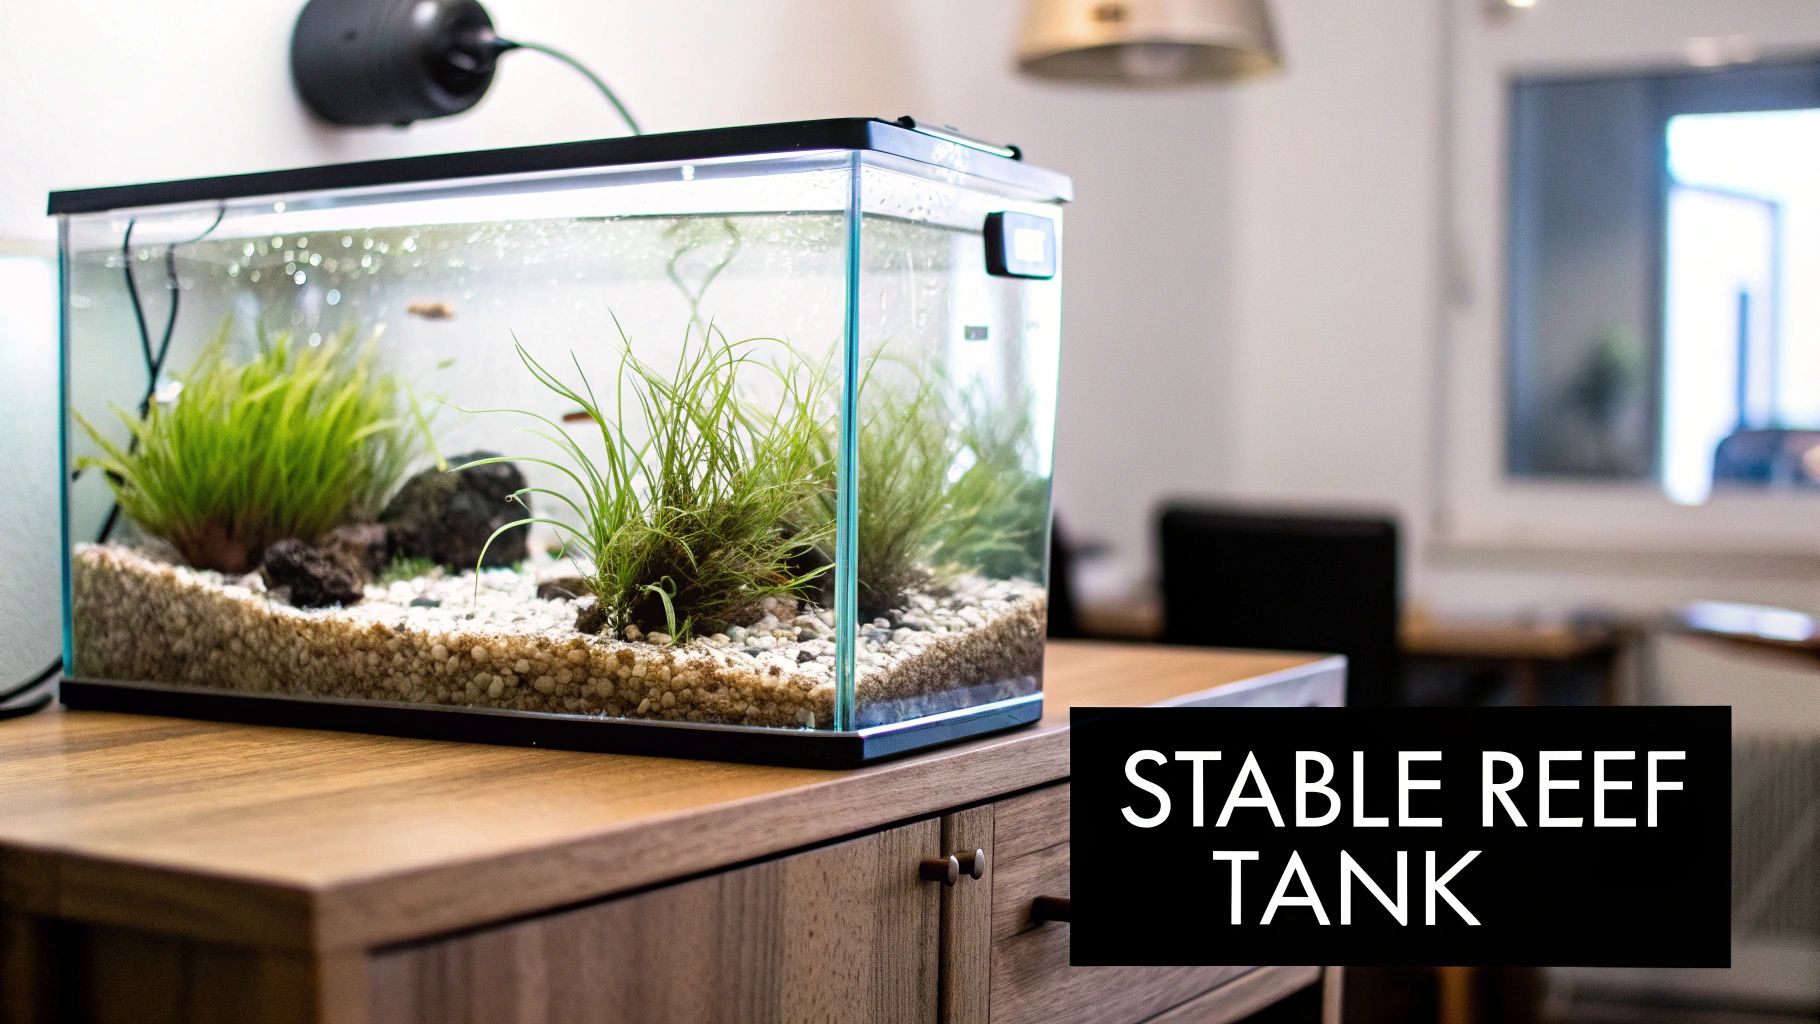
Adding a refugium is one of the most effective ways to create a far more stable, healthy, and resilient reef tank.
The Secret Weapon for a Stable Reef Tank
If you've been in the hobby for any length of time, you know the constant battle against high nitrates and nuisance algae. A refugium is a game-changing, natural solution that works with biology instead of against it. It's not just an add-on; it's a dedicated engine for your ecosystem, working 24/7 to support your main display.
This sheltered compartment becomes a perfect grow-out zone for macroalgae like Chaetomorpha ("Chaeto"), where it can flourish without being nibbled on by your fish. As this algae grows, it consumes nitrates and phosphates—the very same nutrients that fuel ugly algae outbreaks in your display tank. This process of natural nutrient export is a potent weapon for keeping your water crystal clear. We dive even deeper into this topic in our guide covering practical tips to reduce nitrates in a saltwater aquarium.
To give you a quick overview, here are the main reasons reefers swear by their refugiums:
Refugium Benefits at a Glance
| Benefit | How It Works |
|---|---|
| Nutrient Export | Macroalgae consumes nitrates and phosphates as it grows, starving out nuisance algae. |
| Live Food Production | Provides a safe, predator-free zone for copepods and amphipods to reproduce. |
| pH Stabilization | Running the refugium light on a reverse schedule helps buffer nighttime pH drops. |
| Increased Biodiversity | Creates a habitat for a wide range of beneficial microfauna, enriching the entire system. |
More Than Just Algae Control
A refugium is so much more than a nutrient scrubber. It’s a bustling nursery for microfauna. Tiny crustaceans like copepods and amphipods, which would quickly be devoured in the main tank, can establish huge, breeding populations here. A steady stream of these critters will inevitably find their way into the display tank, providing a constant source of nutritious, live food. This encourages natural hunting behaviors and makes the colors on your fish and corals pop.
The concept is so effective that it has fundamentally changed how modern sumps are designed. It's no longer an afterthought; a dedicated refugium compartment has become a standard feature in most high-quality sumps, which averaged between $600 and $1,200 in 2025.
A well-run refugium is the heart of a stable reef tank. It's a biological powerhouse that purifies water, cultivates live food, and helps stabilize pH, creating a more forgiving and resilient aquatic environment.
This guide will walk you through the real-world benefits you'll actually see—from clearer water and healthier corals to a more balanced, self-sufficient reef. We'll demystify the entire process, giving you a practical roadmap from planning your setup to watching it flourish.
Designing Your In-Sump Refugium for Success
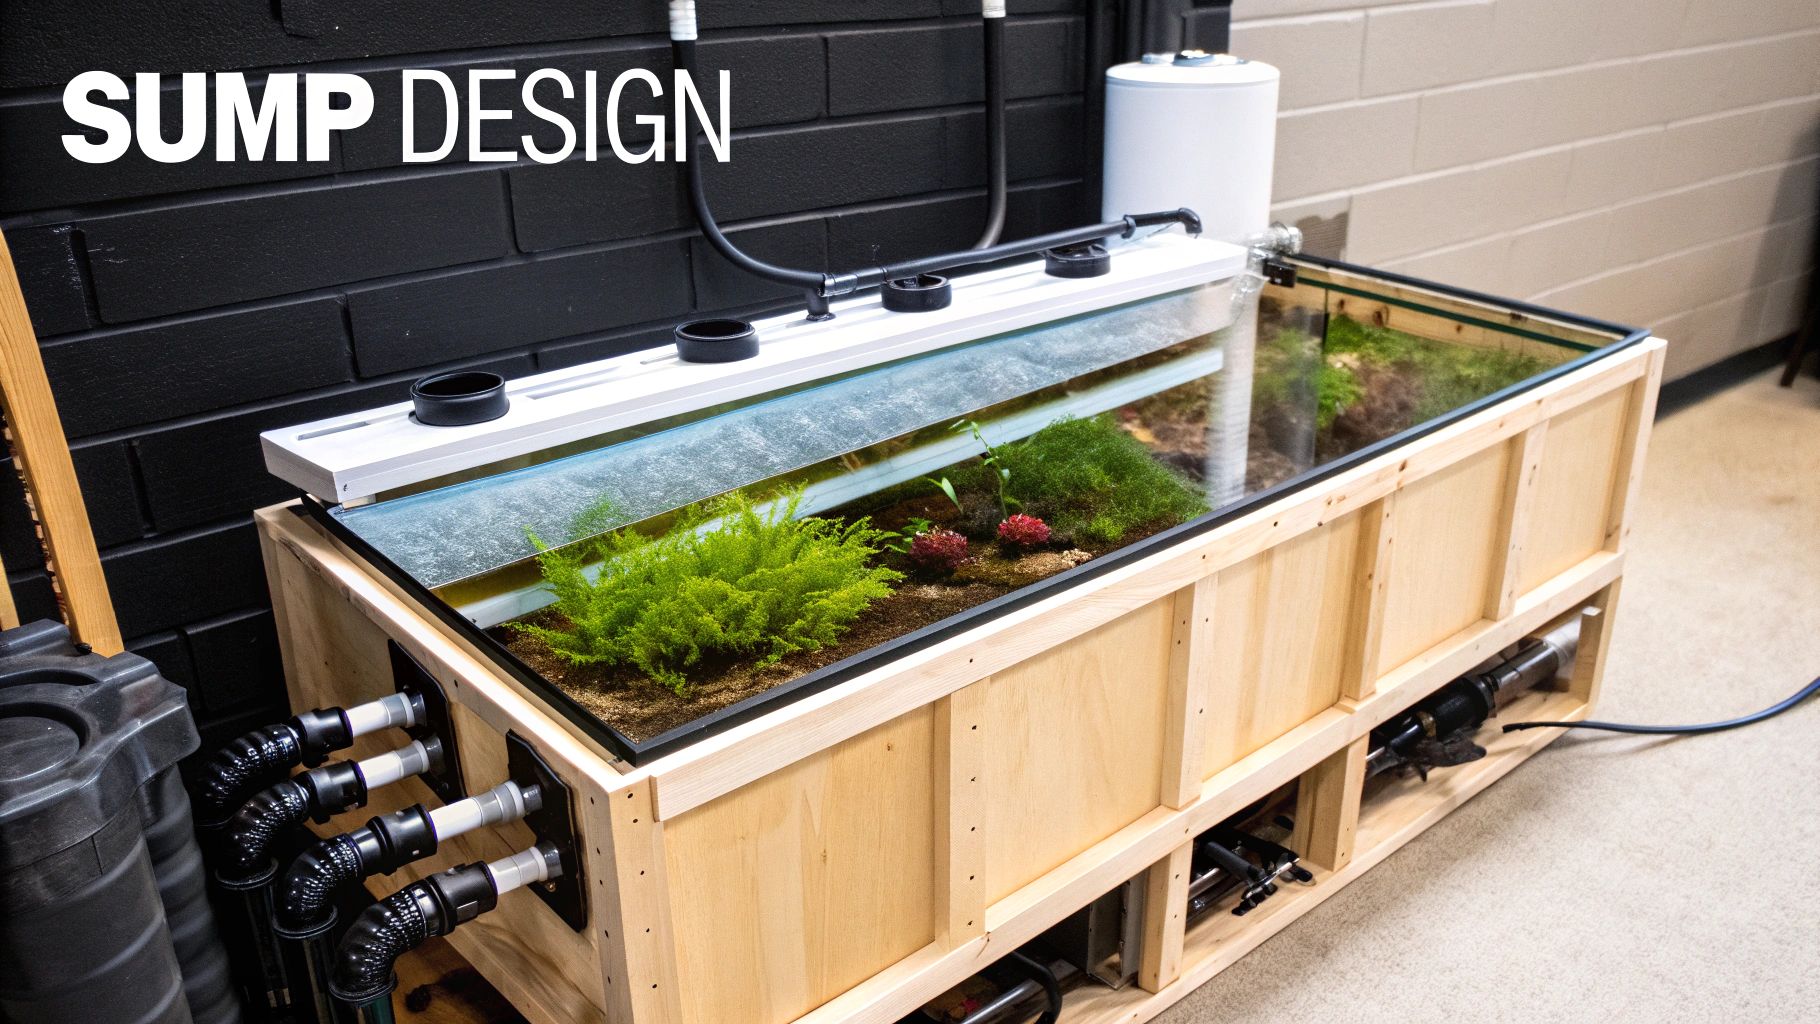
A well-designed refugium in sump is the engine room for effective, low-maintenance nutrient export. Before you even think about buying gear, a little thoughtful planning will save you a world of headaches down the road. It’s the difference between a thriving biological filter and just another algae-filled box under your tank.
The first big decision? Getting the size right.
Sizing Your Sump and Refugium Compartment
A good rule of thumb I’ve always followed is to dedicate 10-20% of your total display tank volume to the refugium itself. So, for a 100-gallon reef, you're looking at a 10 to 20-gallon refugium compartment. This gives you enough real estate for a meaningful mass of macroalgae to grow and really get to work on your nitrates and phosphates.
Looking at the bigger picture, the entire sump should be at least 25% of your display tank's volume. Many of the slick, modern sump designs you see today allocate a generous 20-30% of their internal space just for the refugium. This setup maximizes the 'fuge's filtration power without cramping the style of your protein skimmer and return pump.
Honestly, the bigger you can make your refugium, the more forgiving and effective it's going to be. More volume means more stable growth and a bigger, healthier pod population—a more robust little ecosystem all around.
The Unsung Heroes: Sump Baffles
Baffles are the unsung heroes of any good sump. These simple acrylic or glass dividers are absolutely critical for directing water flow, trapping stray gunk, and making sure each compartment does its job properly. The classic, and for my money, most effective layout for a refugium in sump is an "over-under-over" baffle configuration.
- First "Over" Baffle: Water spills over this first wall from your skimmer section. This is key because it locks in a consistent water level for your skimmer to perform at its best.
- "Under" Baffle: Next, the water gets forced to flow underneath the second baffle. This clever trick traps floating bits of macroalgae and any surface scum, keeping them out of your return pump.
- Second "Over" Baffle: Finally, the water flows over a third baffle. This last step is a fantastic microbubble buster, ensuring only crystal-clear water heads back up to your display.
A well-planned baffle system is non-negotiable. It does more than just contain your macroalgae and substrate; it’s a bubble trap that ensures clean, bubble-free water returns to your display tank. Trust me, you'll be glad you have it.
Pre-Built Sump vs. DIY: The Big Decision
The final fork in the road is deciding whether to buy a pre-built sump with a dedicated refugium section or roll up your sleeves and build one yourself. Both paths have their merits.
Pre-Built Sumps:
These are essentially plug-and-play. You save a ton of time and effort, and brands like Trigger Systems, Fiji Cube, and Eshopps make some beautifully designed units with a polished, professional finish. They often come loaded with nice-to-have features like probe holders, dosing tube inputs, and filter sock chambers. The main downside, of course, is the higher upfront cost.
DIY Sumps:
Going the DIY route gives you ultimate freedom. You get maximum customization for a lower cost, especially if you can score a cheap, used aquarium tank. You can design every single compartment to perfectly fit your specific gear and the space you have. The catch? It requires careful measuring, cutting acrylic, and wielding a silicone gun—a process that can be a bit daunting if you've never done it before.
Ultimately, this choice boils down to your budget, your skills, and how much you enjoy a good project. A pre-built sump gets you up and running fast. A DIY build gives you that deep satisfaction of creating something perfectly tailored for your system.
Either way you go, the goal is a design that supports lush, healthy macroalgae. If you want to dive deeper into what makes these plants tick, check out our https://www.getpoddrop.com/post/a-guide-to-marine-aquarium-macroalgae.
Choosing the Right Gear for Your Refugium
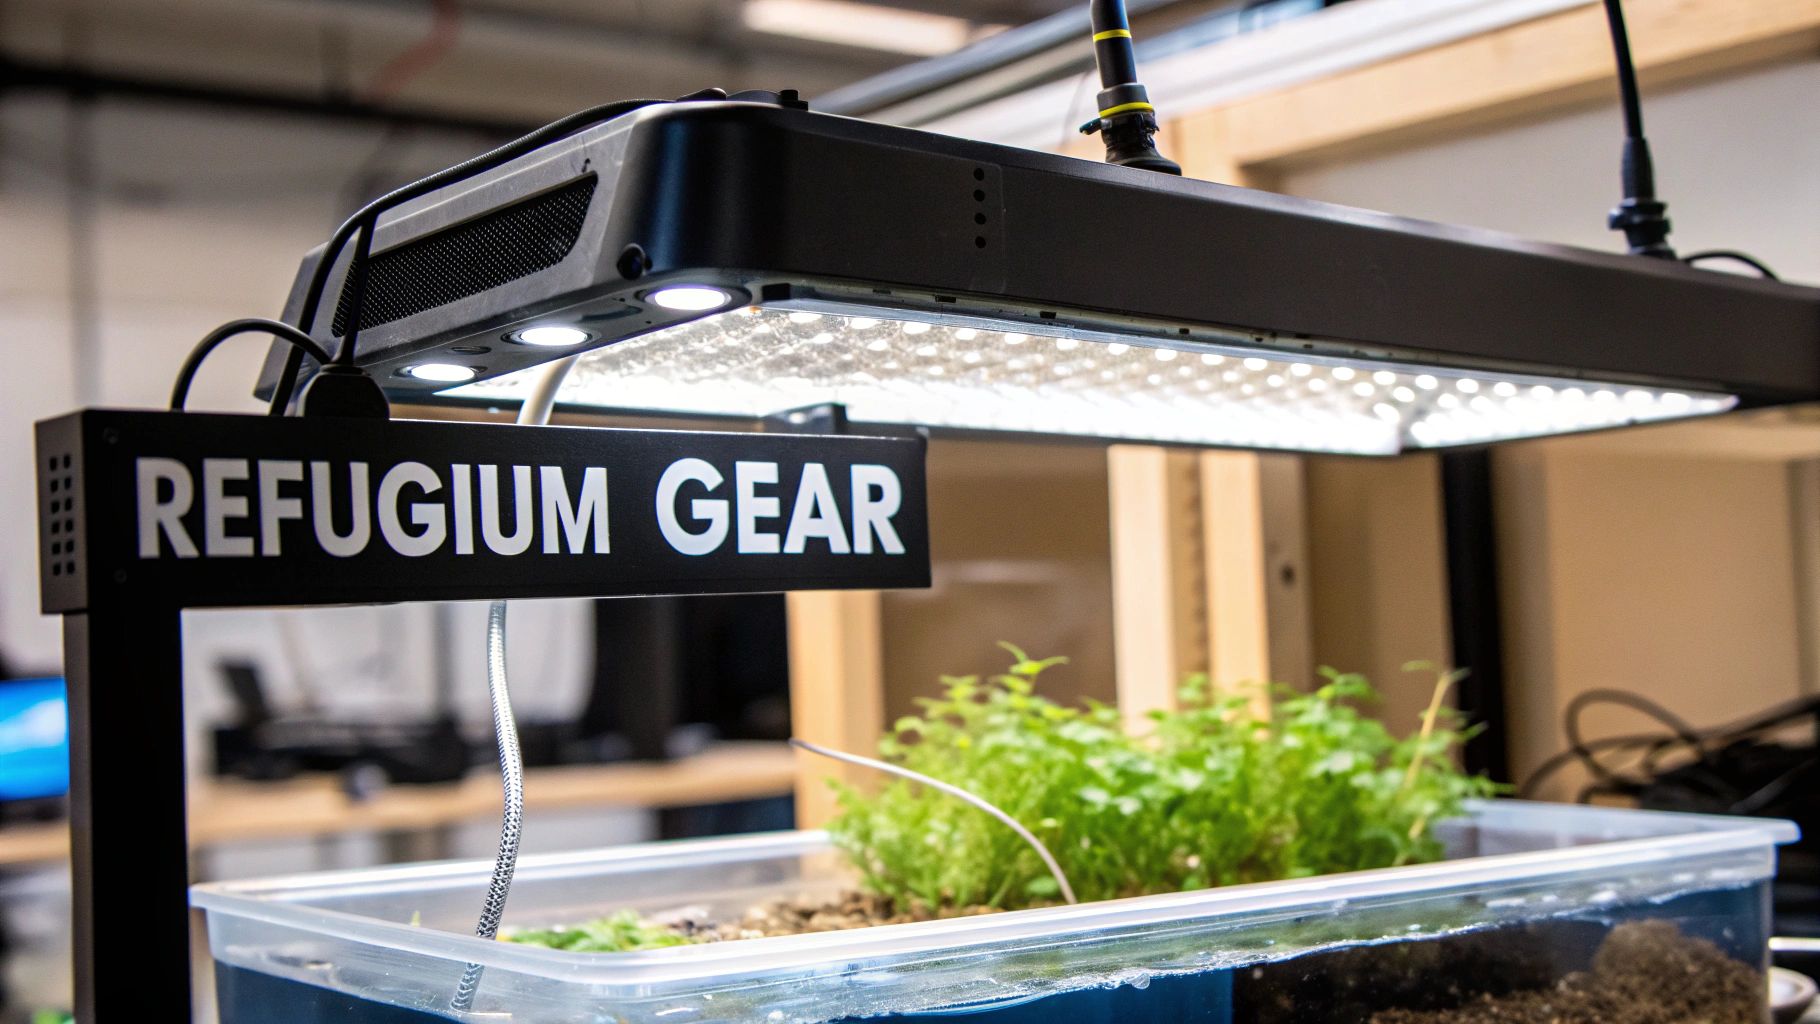
Alright, you've got the design locked in. Now comes the fun part: picking the hardware that turns a simple box of water into a true biological powerhouse. Getting the gear right is what fuels the entire engine, driving the algae growth and microfauna that make a refugium in sump so effective.
Illuminating Your Refugium
Lighting is, without a doubt, the single most critical piece of equipment here. Get it wrong, and your macroalgae just won't grow. No growth means no nutrient export, and the whole point is lost. The mission is simple: provide a light spectrum that kicks photosynthesis into high gear.
For common macroalgae like Chaetomorpha, a light in the 5,000K to 6,500K range is the sweet spot. This daylight spectrum is exactly what it craves. You can skip the fancy, blue-heavy coral lights; a basic plant-focused spectrum is not only more effective for this job but also a whole lot friendlier on the wallet.
You've got a few great paths you can take when lighting your refugium in sump.
When it comes to picking a light source, there are several solid options that reefers have trusted for years.
Comparing Macroalgae Lighting Options
Choosing the right light can feel overwhelming, but it really boils down to your budget, the size of your refugium, and how much control you want. This table breaks down the most common choices to help you decide what fits your setup best.
| Light Type | Best For | Pros | Cons |
|---|---|---|---|
| Dedicated LED Fuge Lights | Reefers who want a purpose-built, efficient, and controllable solution. | Optimized spectrum for macroalgae, low heat output, often water-resistant, and compact. | Highest initial cost. |
| Simple LED Grow Lights | Hobbyists on a budget looking for high efficiency and effectiveness. | Very inexpensive, excellent growth results, low heat, and easy to find. | Not water-resistant, requires a separate fixture (like a clamp lamp). |
| Compact Fluorescent (CFL) Bulbs | The ultimate budget-conscious or old-school reefer. | Extremely cheap upfront cost. | Inefficient, generates significant heat, bulbs require frequent replacement. |
Ultimately, any of these will grow algae. Dedicated lights from brands like Kessil offer a polished, plug-and-play experience, while a simple hardware store grow bulb in a clamp lamp can deliver nearly identical results for a fraction of the price.
One of the smartest tricks in the book is running a reverse daylight cycle. By turning your refugium light on just as your display tank lights go off, you create a beautiful buffer against pH swings. As the macroalgae photosynthesizes overnight, it pulls CO2 from the water, which helps prevent that typical nighttime pH drop and keeps your entire system more stable.
Substrate Choices for Your Sump
What goes on the bottom of the refugium is a bigger decision than you might think. It really comes down to two philosophies: a deep sand bed (DSB) for maximum biological filtration or a bare-bottom setup for ultimate simplicity.
Deep Sand Bed (DSB)
A sand bed that's 4-6 inches deep is more than just a place for pods to hide; it becomes a powerful denitrification factory. Deep inside that sand, anoxic zones develop where special anaerobic bacteria get to work, converting nitrates into harmless nitrogen gas. This adds a whole other layer of natural nitrate reduction. The downside? If not managed well, a DSB can become a trap for detritus over time.
Bare-Bottom
This is the keep-it-simple approach. A bare-bottom refugium is a breeze to clean—any detritus that settles can be siphoned out in seconds. It’s perfect if your only goal is growing and harvesting macroalgae for nutrient export. You do, however, miss out on the denitrification benefits and some of the habitat complexity that a sand bed provides.
Your choice of substrate directly impacts your maintenance routine and biological filtration capabilities. A DSB offers superior denitrification but requires more careful management, while a bare-bottom setup is low-maintenance but offers less biological diversity.
Achieving the Perfect Flow
Last but not least, we need to talk about water movement. The goal here is a slow, gentle tumble—not a chaotic whirlpool. You're aiming for just enough flow to keep your macroalgae slowly rotating, which ensures all sides get exposed to light and have access to the nutrients flowing by. Too much flow will shred your chaeto into a mess; too little creates dead spots where things can stagnate.
A turnover rate of 3-5 times the volume of the refugium compartment per hour is a fantastic starting point. For a 10-gallon refugium zone, that translates to a mellow 30-50 GPH. You can easily achieve this with a small, dedicated pump, or by teeing off your main return line with a ball valve to perfectly dial in that gentle flow.
Bringing Your Refugium to Life with Algae and Pods
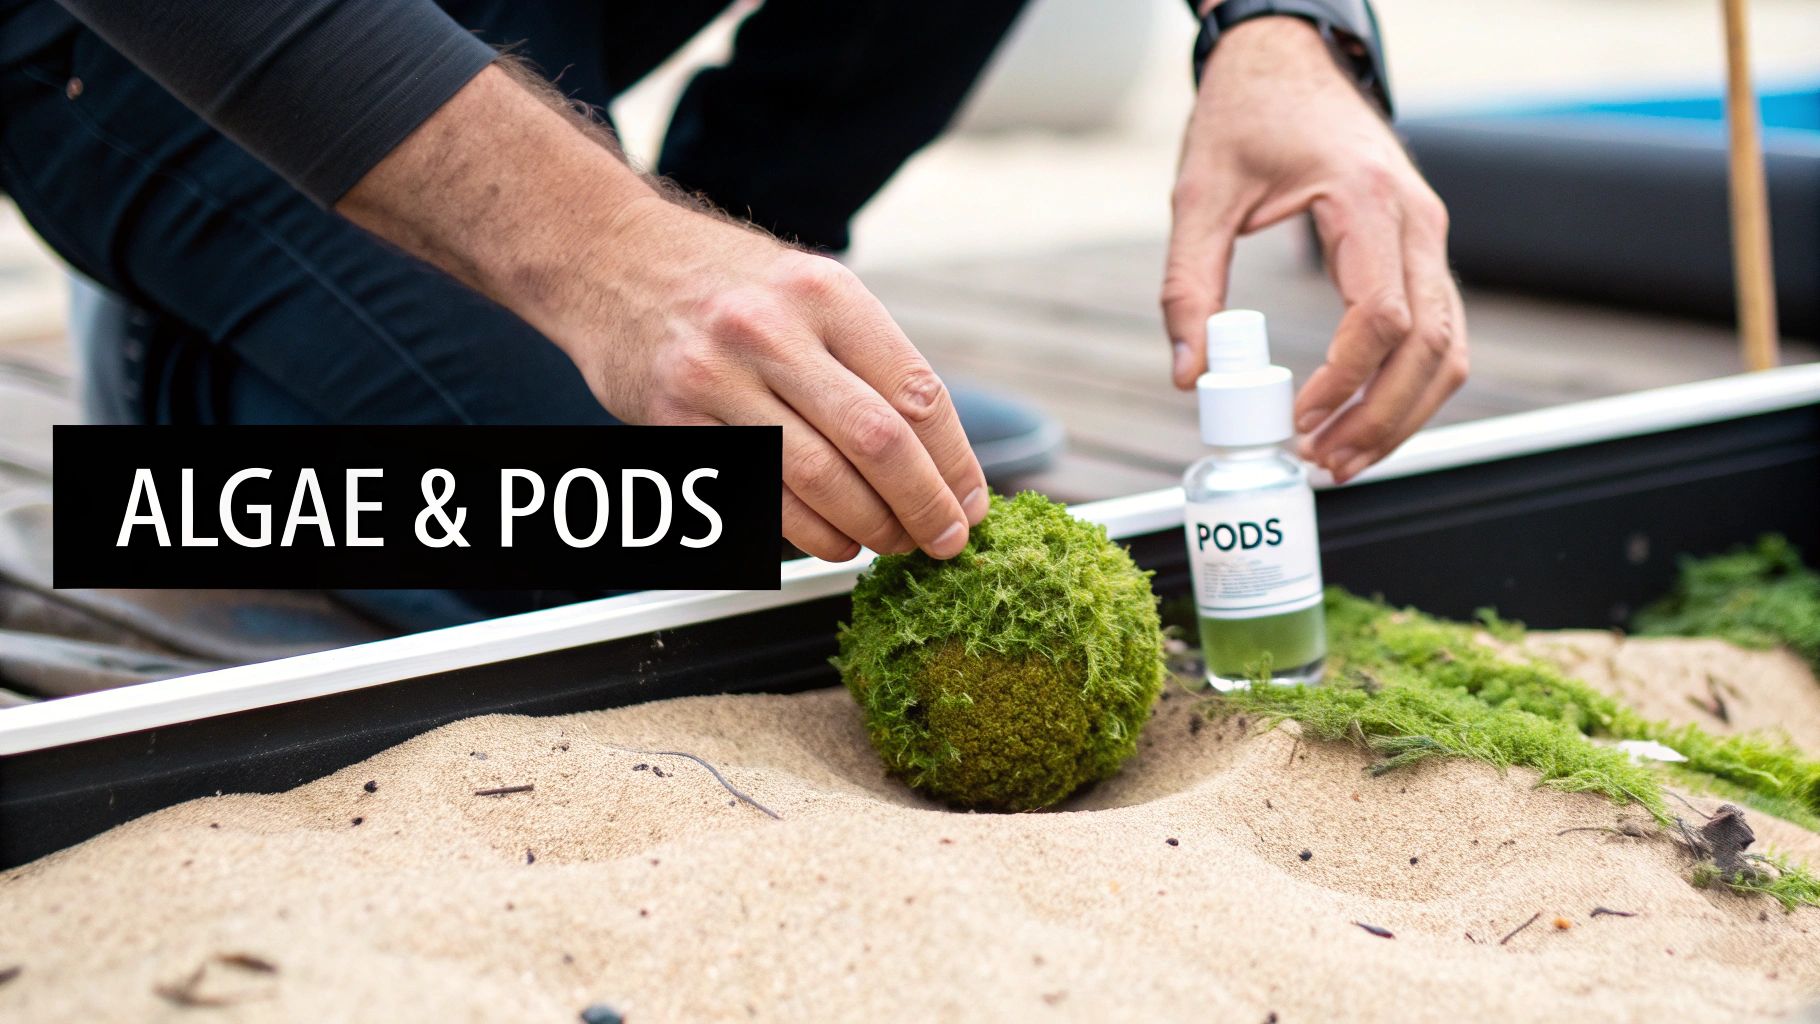
With all the hardware in place, it’s time for the fun part: adding the living heart of your refugium in sump. This is where the real magic of nutrient export and live food production finally kicks into gear. The whole point is to cultivate a thriving, self-sustaining ecosystem that works around the clock to keep your display tank pristine.
The undisputed champion for this job is Chaetomorpha, or "chaeto" as it's known in the hobby. This tangled, spaghetti-like green algae is incredibly hardy, grows like a weed, and is a super safe bet for any system. Unlike Caulerpa, which can go "sexual" and nuke your tank by releasing its contents back into the water, chaeto is stable and completely predictable.
Sourcing and Acclimating Your Macroalgae
When you're ready to add your chaeto, where you get it from matters. You’re looking for a healthy, vibrant green portion that's completely free from pests like Aiptasia anemones or other nuisance algae. Your local fish store or fellow reefers are often the best sources.
Once you have the algae, don't just dump it in the sump. A few quick steps will give it the best possible start:
- Give It a Good Inspection: Put the chaeto in a white bowl with some tank water and look closely for any unwanted hitchhikers.
- Rinse It Off: Gently swish the algae in a separate container of clean saltwater. This helps dislodge any loose detritus or pests you might have missed.
- Let It Acclimate: Chaeto is tough, but it still appreciates a gentle introduction. Float the bag in your sump for 20-30 minutes to match the temperature before you place it in the refugium compartment.
This simple routine minimizes stress on the algae and, more importantly, keeps you from accidentally introducing new problems into your aquarium.
A common mistake I see is starting with a portion of chaeto that's just too small. You really want to begin with at least a baseball to softball-sized clump. This gives it enough mass to kickstart rapid growth and immediately start outcompeting any potential nuisance algae.
Seeding Your Refugium with Microfauna
A great refugium is so much more than an algae filter; it's a microfauna factory. Seeding this new habitat with beneficial critters like copepods and amphipods is a critical step that many people overlook. These tiny crustaceans are the ultimate cleanup crew, constantly feasting on detritus and leftover food.
Even better, they establish a breeding population that continuously overflows into your main display. This provides a natural, highly nutritious food source for your fish and corals. Species like mandarins and certain wrasses, which can be notoriously difficult to keep fed, will absolutely thrive with a steady supply of live pods drifting out of the sump.
You can seed your refugium by adding a few pieces of live rock rubble from an established, healthy system. For a more direct and potent approach, however, I recommend introducing commercially available pod cultures. This gives your system a massive head start. If you want to take things to the next level, there are simple guides on how to culture copepods at home that can ensure you have a truly endless supply.
https://www.getpoddrop.com/post/how-to-culture-copepods-at-home-a-simple-guide-to-feeding-and-care
By combining a healthy mass of macroalgae with a bustling population of pods, your refugium transforms from a simple piece of equipment into a dynamic, living ecosystem that actively feeds and purifies your entire reef tank.
Tending to Your Refugium Garden: Maintenance and Troubleshooting
A productive refugium in your sump isn't a "set it and forget it" piece of equipment. Think of it more like a garden—it needs a little bit of tending to keep it thriving. Staying on top of maintenance ensures your refugium remains a nutrient-export powerhouse and a copepod factory, rather than turning into a source of problems down the line.
The most important job you have is simple: harvesting your macroalgae. This is the whole point of nutrient export. As that ball of chaeto or clump of caulerpa grows, it's literally locking up nitrates and phosphates from your water column. When you pull a chunk out and toss it, you're physically removing those locked-up nutrients from your system for good.
Your Routine Maintenance Checklist
Keeping your refugium humming along only takes a few minutes every couple of weeks. A simple, consistent routine is always better than letting things go and then trying to fix it with a massive deep clean.
- Harvest Macroalgae: Every 2-4 weeks, you'll want to pull out about 30-50% of the algae. This prevents the mass from getting so dense that it blocks light and flow to the center, which can cause that inner portion to die off and start releasing all those nutrients you worked so hard to remove.
- Wipe Down the Light: Once a month, give the light fixture or lens a quick wipe. Salt creep and dust build up surprisingly fast and can seriously cut down the light intensity getting to your algae, which slows down growth.
- Siphon Out Detritus: If you're running a bare-bottom refugium, use a turkey baster or a small siphon to suck out any gunk that's settled on the bottom. Tying this into your regular water change schedule makes it easy to remember.
You'll notice that many of the premium sumps on the market today dedicate a decent amount of real estate to a refugium, often around 10 to 20% of the sump's total volume. This reflects a major shift in the hobby, balancing skimming, equipment space, and natural filtration. The top sump manufacturers are constantly innovating with new materials and modular designs, making it easier than ever to integrate a refugium as a standard component.
Solving Common Refugium Problems
Even with the best care, you might run into a snag or two. Don't worry, it happens to all of us. Here’s a quick guide to diagnosing and fixing the most common issues you're likely to see.
A sudden downturn in your refugium's health is often the canary in the coal mine for your entire system. Pay close attention to your macroalgae—it can alert you to things like crashing nutrient levels or an equipment failure before your display tank even notices.
Problem: "My Algae Isn't Growing, or It's Turning White."
This is easily the most common issue reefers face. When it happens, it almost always points to the algae being starved of a key resource.
- The Cause: Your nutrients are bottoming out. Believe it or not, your filtration might be too good, leaving zero nitrates and phosphates for the algae to eat.
-
The Fix: Grab your test kits. If nitrates and phosphates are truly at 0.00, you might need to feed your fish a little more heavily or dial back other export methods (like turning off your GFO reactor for a bit).
-
The Cause: The lighting is weak. An old bulb could be losing its punch, or the fixture you're using simply isn't powerful enough to penetrate the depth of your refugium.
- The Fix: Swap out any old T5 or CFL bulbs. If that's not the issue, it might be time to upgrade to a dedicated LED grow light designed specifically for macroalgae. They make a world of difference.
Problem: "My Refugium Isn't Lowering My Nitrates."
This one can be frustrating. You see a big, healthy-looking ball of chaeto, but your nitrate tests are still stubbornly high. The problem here is usually about scale.
- The Cause: The refugium is simply too small for your tank's bioload. Think of it as trying to bail out a speedboat with a teaspoon.
- The Fix: The algae just can't consume nutrients as fast as your fish are producing them. You have a few options: harvest the algae more frequently to spur more aggressive growth, find a way to increase the size of the refugium, or supplement it with another form of nutrient export, like a more powerful protein skimmer or a biopellet reactor.
Answering Your Top Refugium Questions
Even the best-laid plans come with questions. As you get your sump's refugium up and running, a few common "what ifs" are bound to pop up. Let's walk through some of the most frequent ones I hear from fellow reefers to get you moving forward with confidence.
Do I Still Need My Protein Skimmer?
Absolutely, yes. For almost every reef tank out there, keeping your protein skimmer running alongside your refugium is the gold standard. Don't think of it as an either/or choice; think of them as a tag team working together for ultimate water quality.
Your protein skimmer is a master at pulling out dissolved organic compounds—we're talking fish waste, leftover food, and other gunk—before it has a chance to break down into nitrate and phosphate. The refugium then comes in right behind it, targeting the nutrients that inevitably slip through. It's a powerful one-two punch that creates an incredibly stable and redundant filtration system.
When you run both, you're not just filtering your water. You're proactively stripping out organics while simultaneously consuming the resulting nutrients. It’s the best way to maintain pristine conditions, especially in a heavily stocked reef.
Is There a Risk of My Refugium Crashing My Tank?
A properly maintained refugium is one of the safest, most stable pieces of equipment you can add to your system. The horror stories you might have stumbled upon online almost always trace back to one specific macroalgae: Caulerpa. This particular algae has a nasty habit of going "sexual," where it releases all its contents back into the water, causing a massive nutrient bomb.
This is exactly why Chaetomorpha is the undisputed king of refugium algae. Affectionately known as "chaeto," it simply doesn't have this risk, making it a far safer and more reliable choice for your sump. The only other theoretical risk is if you let a huge mass of chaeto die off and decay, but regular harvesting completely eliminates that possibility.
How Long Before I See Results?
Your refugium gets to work the minute you drop that macroalgae in, but seeing those testable results isn't instant. You can generally expect to see a measurable drop in your nitrate and phosphate levels within about four to eight weeks.
This timeframe gives the macroalgae enough time to settle in, establish itself, and really kick into its rapid growth phase. It’s the same story for your pod population; a freshly seeded refugium will need a couple of months for the copepods to mature into a self-sustaining food factory that constantly trickles into your display tank. Patience is your best friend here—the benefits truly compound over time.
What's the Best Flow Rate for a Refugium?
The sweet spot for flow in a refugium is slow and gentle. The idea is to create just enough movement to slowly tumble the entire ball of chaeto, making sure all sides get their fair share of light. If the flow is too strong, it will rip your macroalgae to shreds. Too weak, and you’ll get dead spots where the bottom of the mass never sees the light.
A perfect target to aim for is a turnover of 3-5 times the volume of your refugium compartment per hour.
- For example: If your refugium compartment holds 10 gallons of water, you’d want a dedicated pump or diverted flow that provides between 30 and 50 gallons per hour (GPH). This will give you that gentle, rolling tumble without blasting your precious pods into the next chamber.
Ready to seed your new refugium and create a thriving ecosystem? At PodDrop Live Aquarium Nutrition, we provide high-quality, lab-cultured copepods and phytoplankton to jumpstart your biodiversity and feed your entire reef. Explore our live nutrition blends.